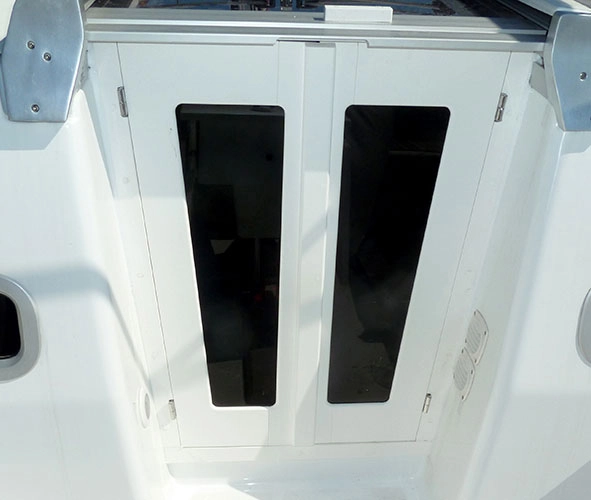
This project is in progress. I am building a brand new companionway made of plastic and plexiglass, for a splendid overhaul of my 1980 Pearson 30.
Exhaustive Shopping List
Teak, plexiglass sheets, and hardware

- Teak - Exotic Lumber for local buy in Annapolis, MD
- Black Plexiglass Sheet - 1/4" Thick Cast (24" x 48")
- Hardware to be added
Bonding and Sealing
- Bonding to be added
- Sealing to be added
The Shop
The Machines
The Tools
- Tape measurer (1/16 fractions)
- Drill
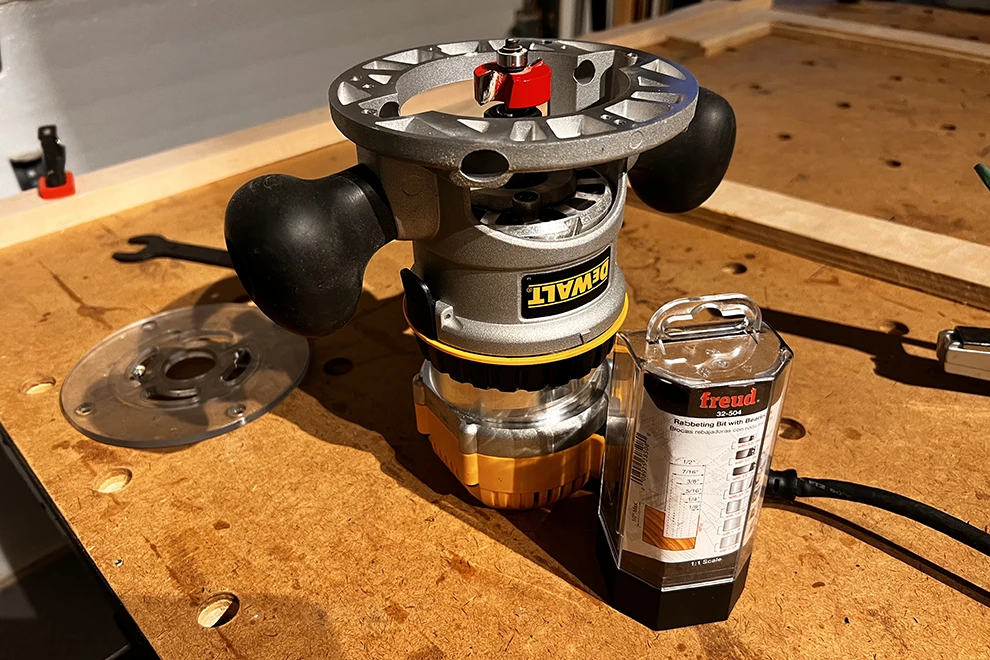
- Dewalt DW616PK Router with Freud 32-504 Bit
- Orbit Sander, Variable Speed
- Hand sander
- Shopvac with Dust Bags
Measurements
Project Dimmensions
- Top Width: 28.25"
- Bottom Width: 24"
- Length: 38"
- Thickness: .50”
Design template taken from the web
Squaring, Marking, & Cutting
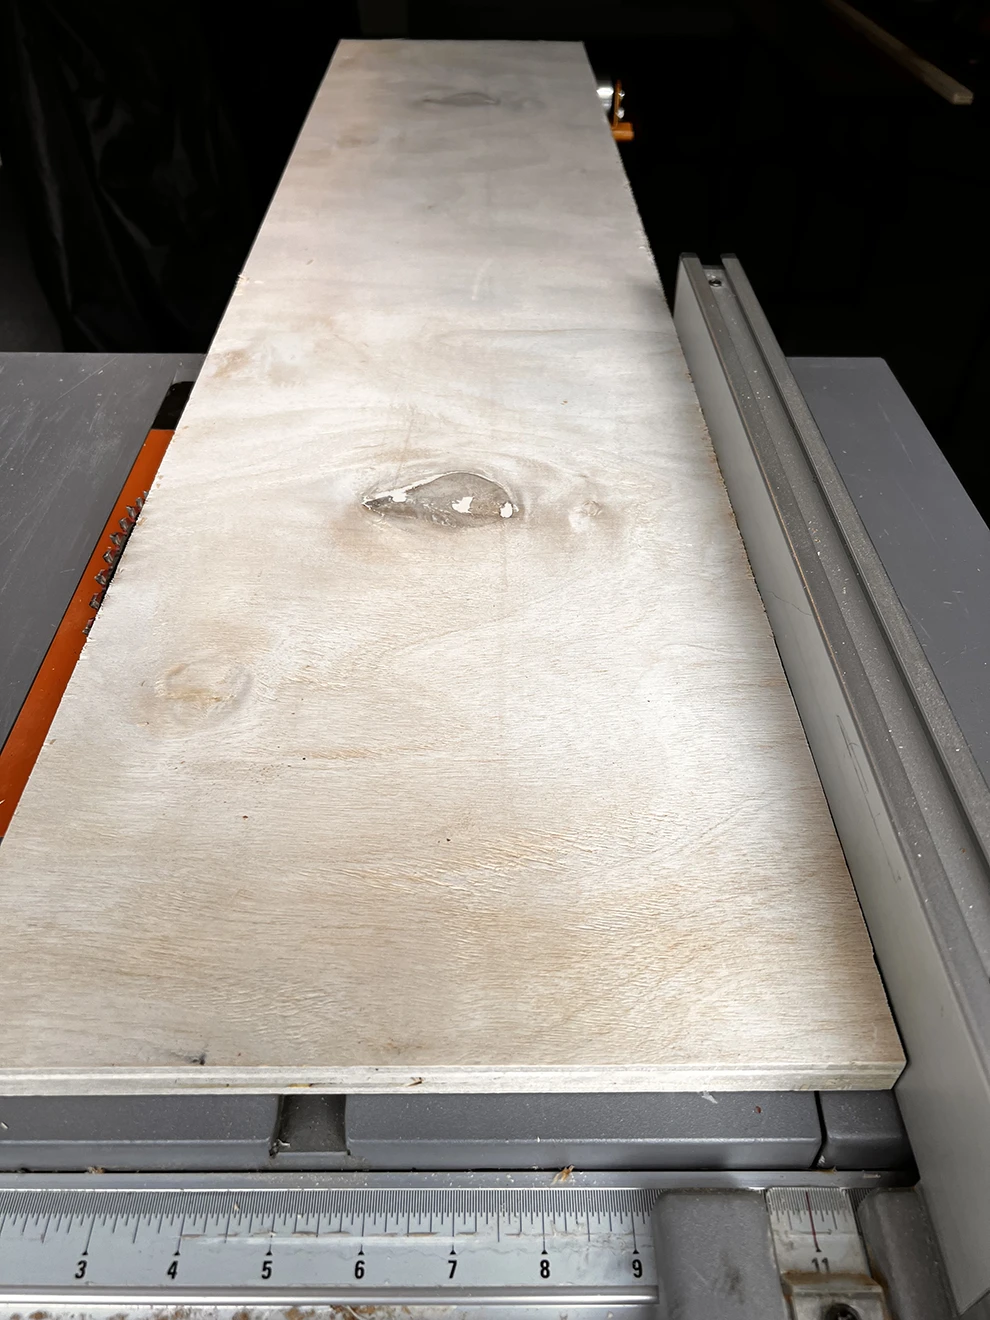
Note: Plywood is used instead of teak while this project is undergoing development.
Preparing the teak boards
- Tablesaw three boards to 42" in length and 11" in width.
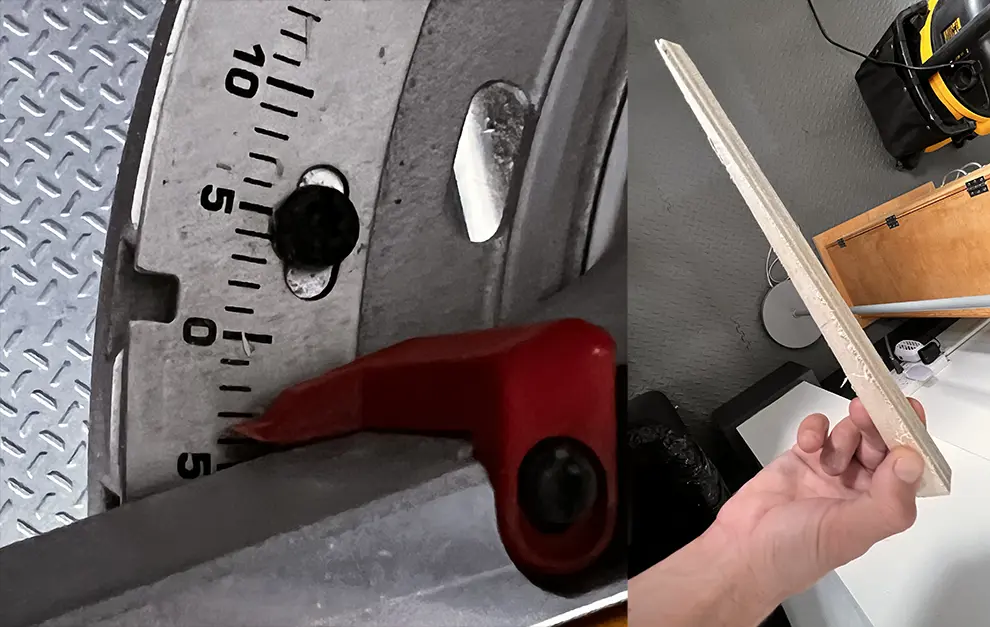
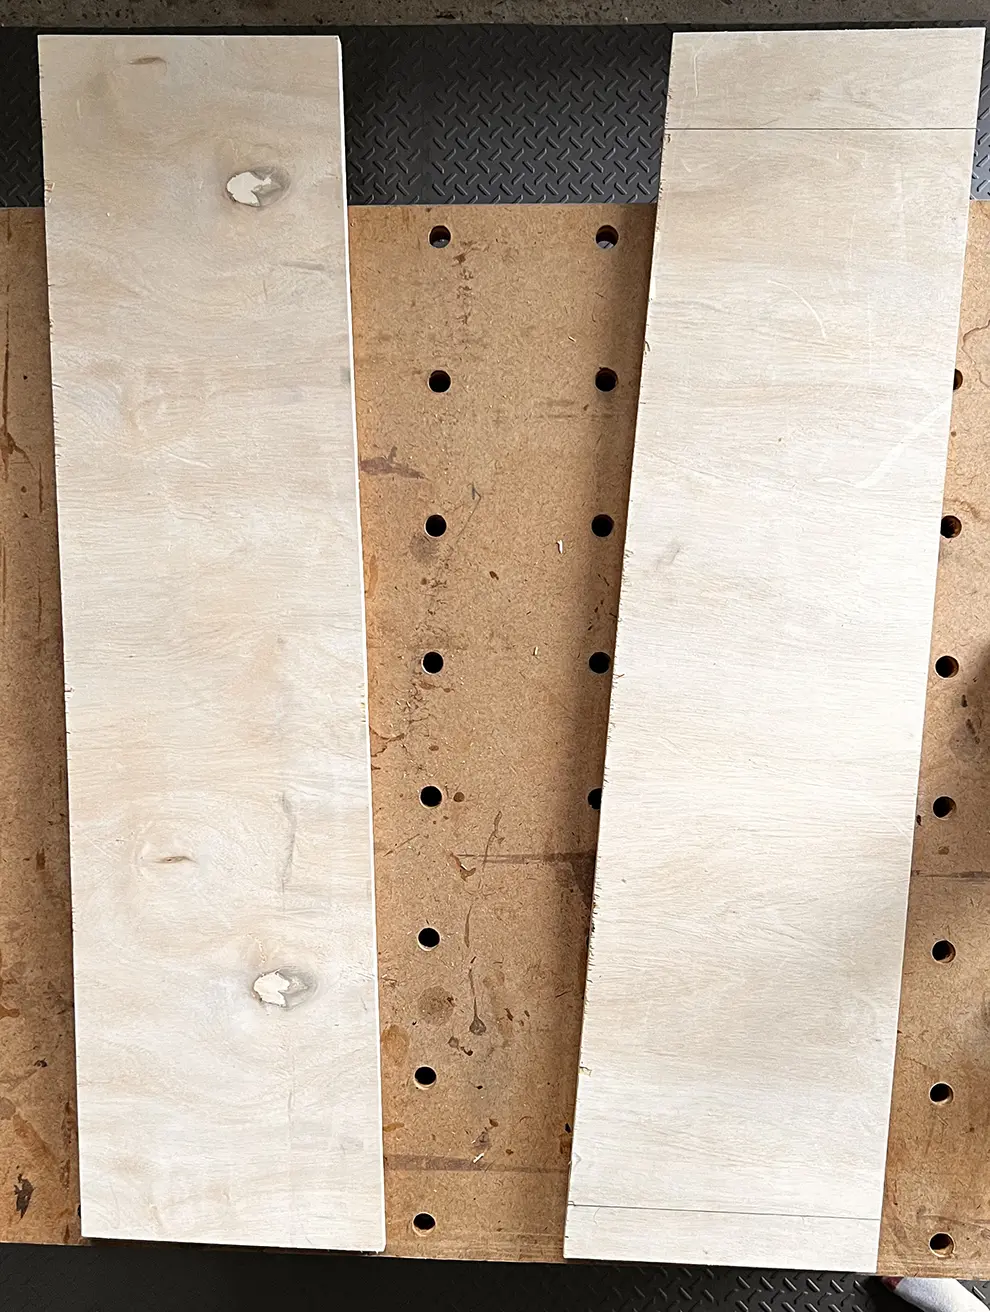
- Setting the cutting angle to 3.5°, mitersaw the short ends of 2 out of 3 boards (width side) in the same direction so that they are parrallel to each other.
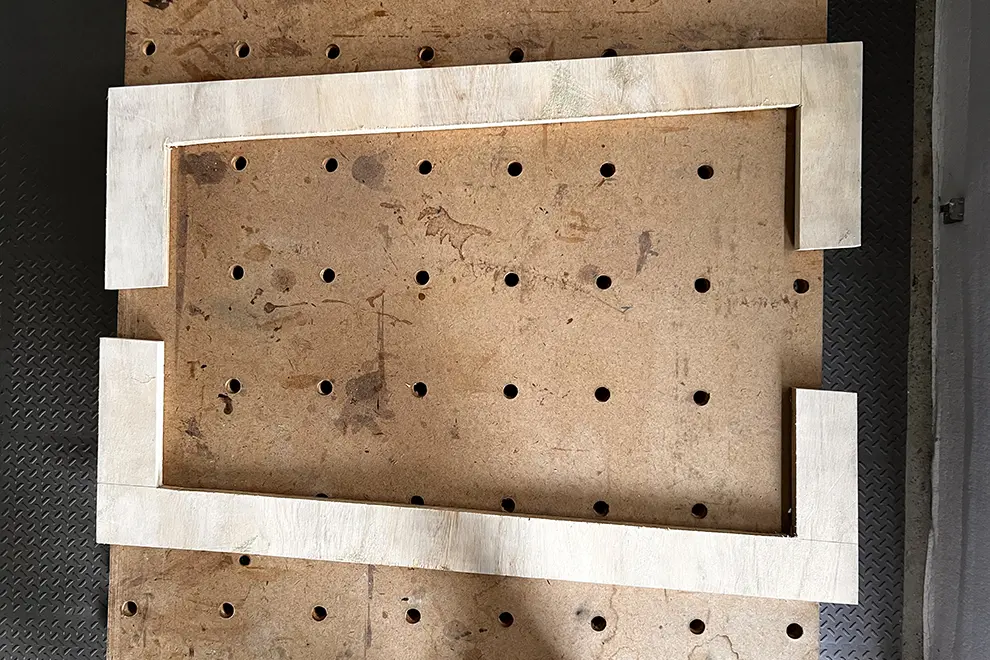
- This is what your first two boards should look like at this stage.
- Mitersaw those two board again, to 38" in length.
- Mitersaw the third board to match the other two boards in length.
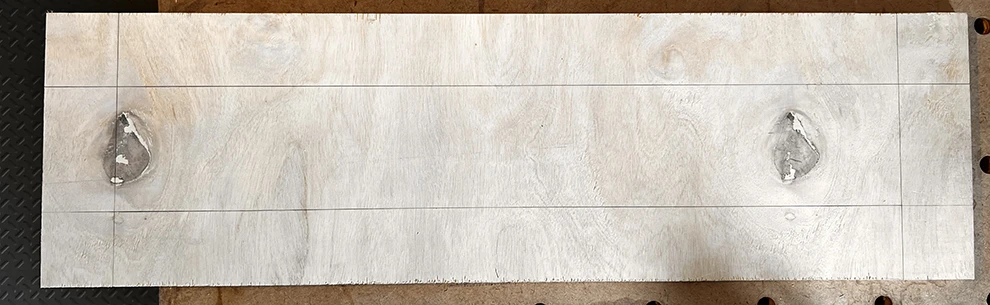
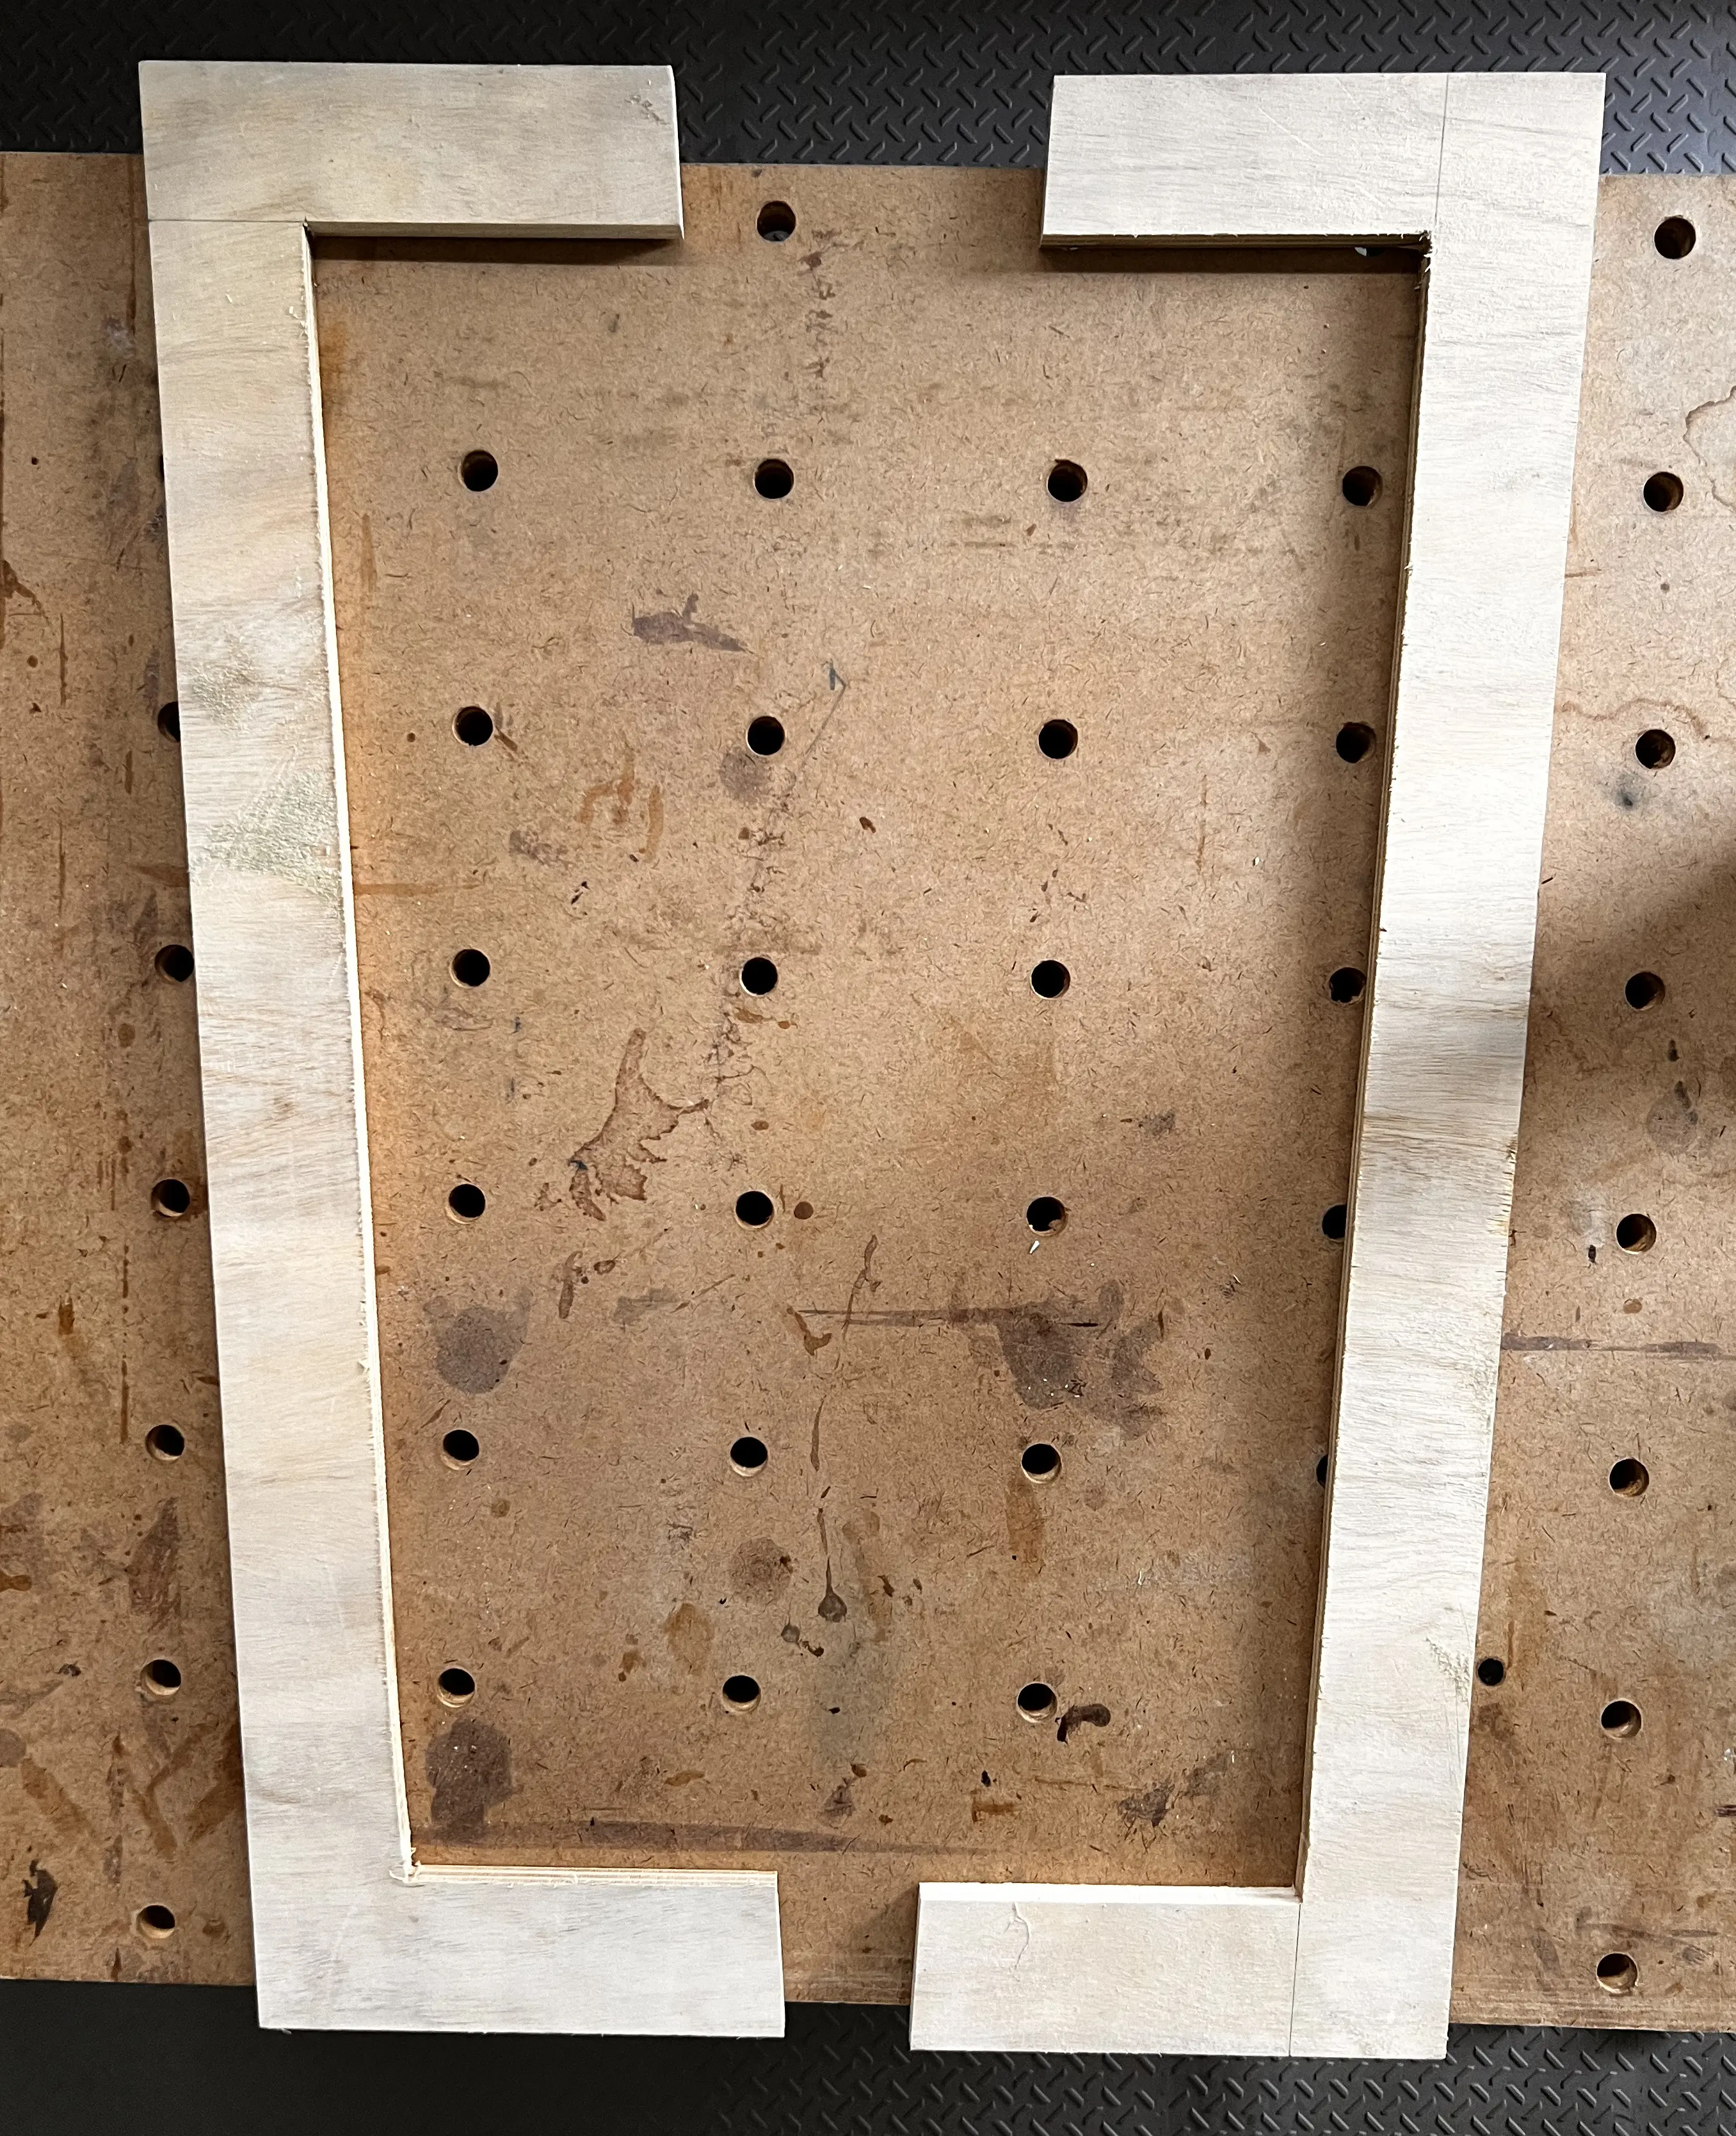
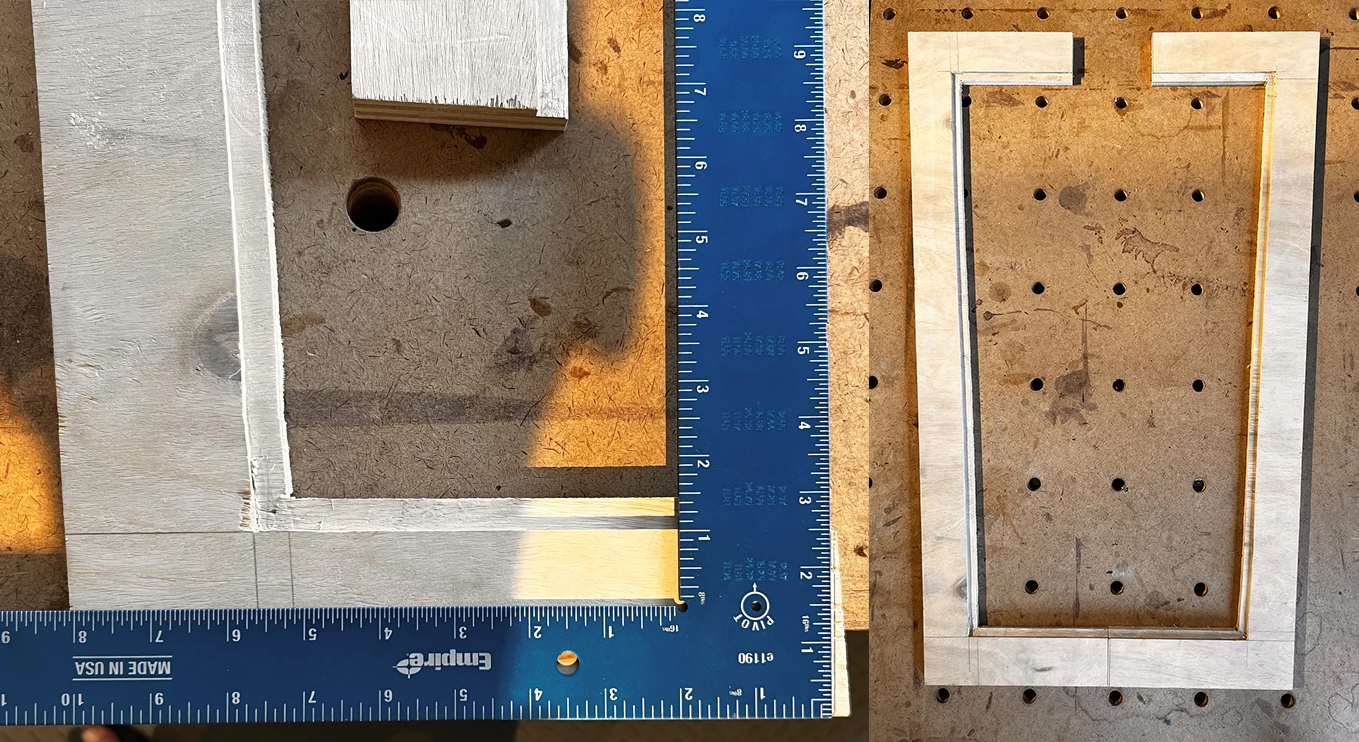
- On both sides of each board, pencil draw the lines for the plexiglass cutouts 3" inside the edges.
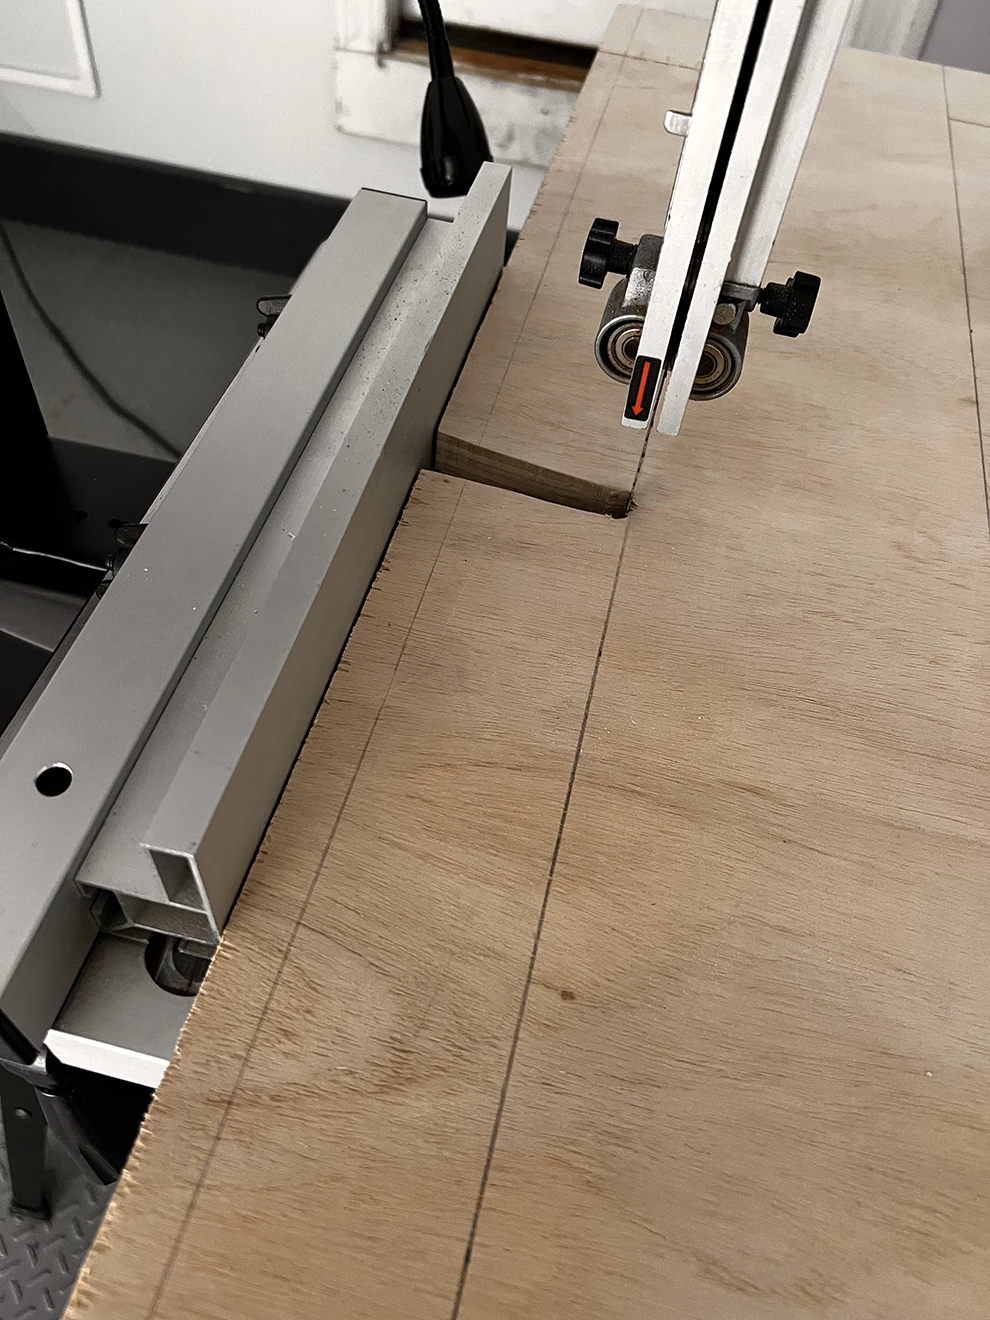
- Use the drill-to-jigsaw technique to create an opening on each board so that you can run them through the bandsaw (see picture below). To make sure you don't accidentally drill past the penciled lines, drill your hole midway into the length side of the line rather than on the cornered edge.
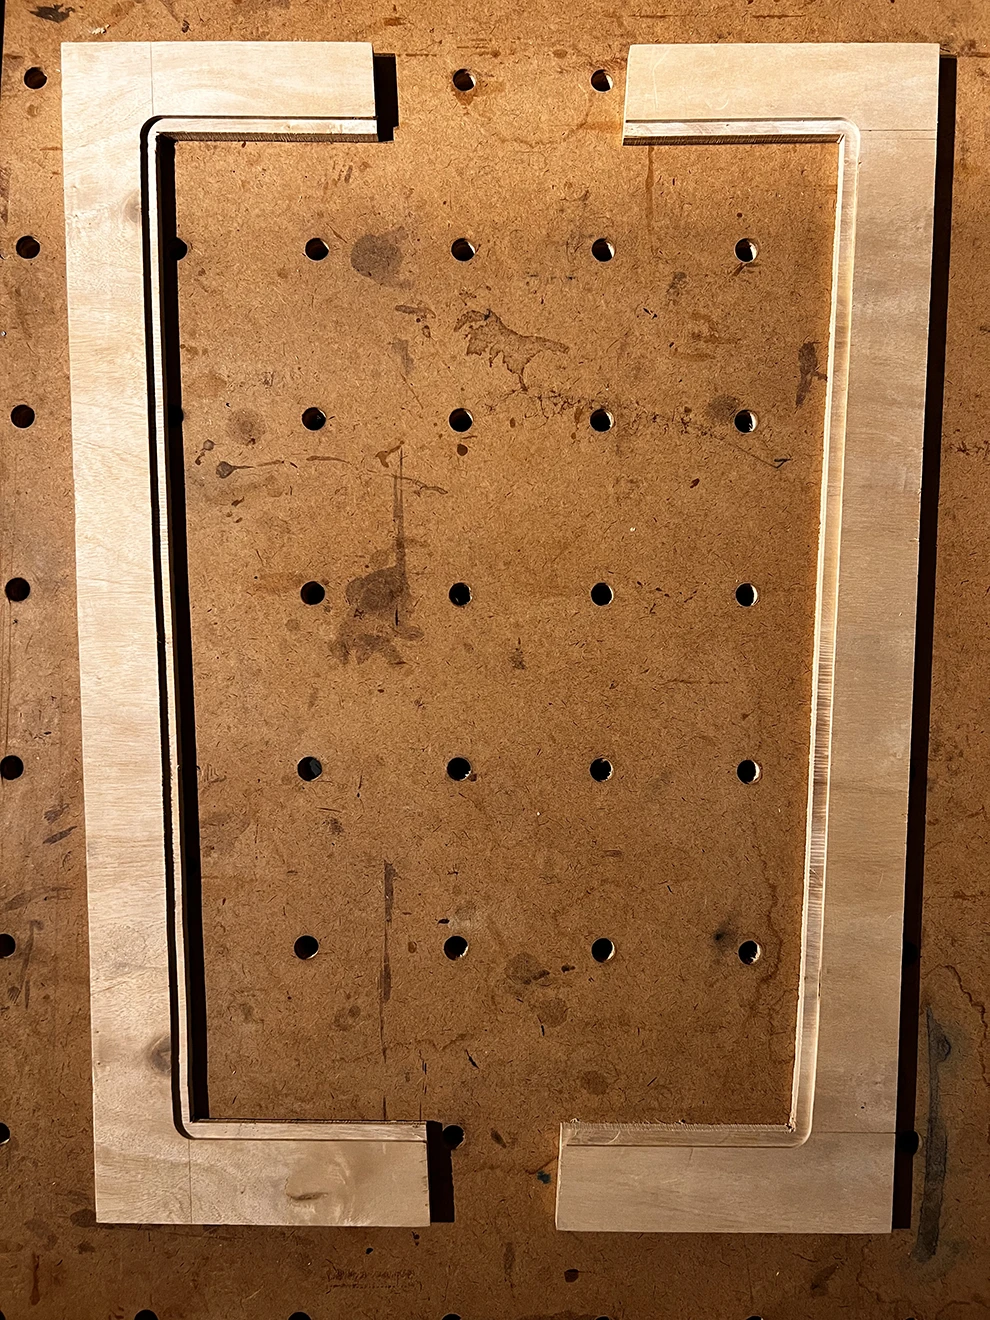
- Run each board through the bandsaw, but make sure the edges of your boards are perfectly straight. If unsure, run them through your jointer first.
- This is what your first two boards should look like after the cutout.
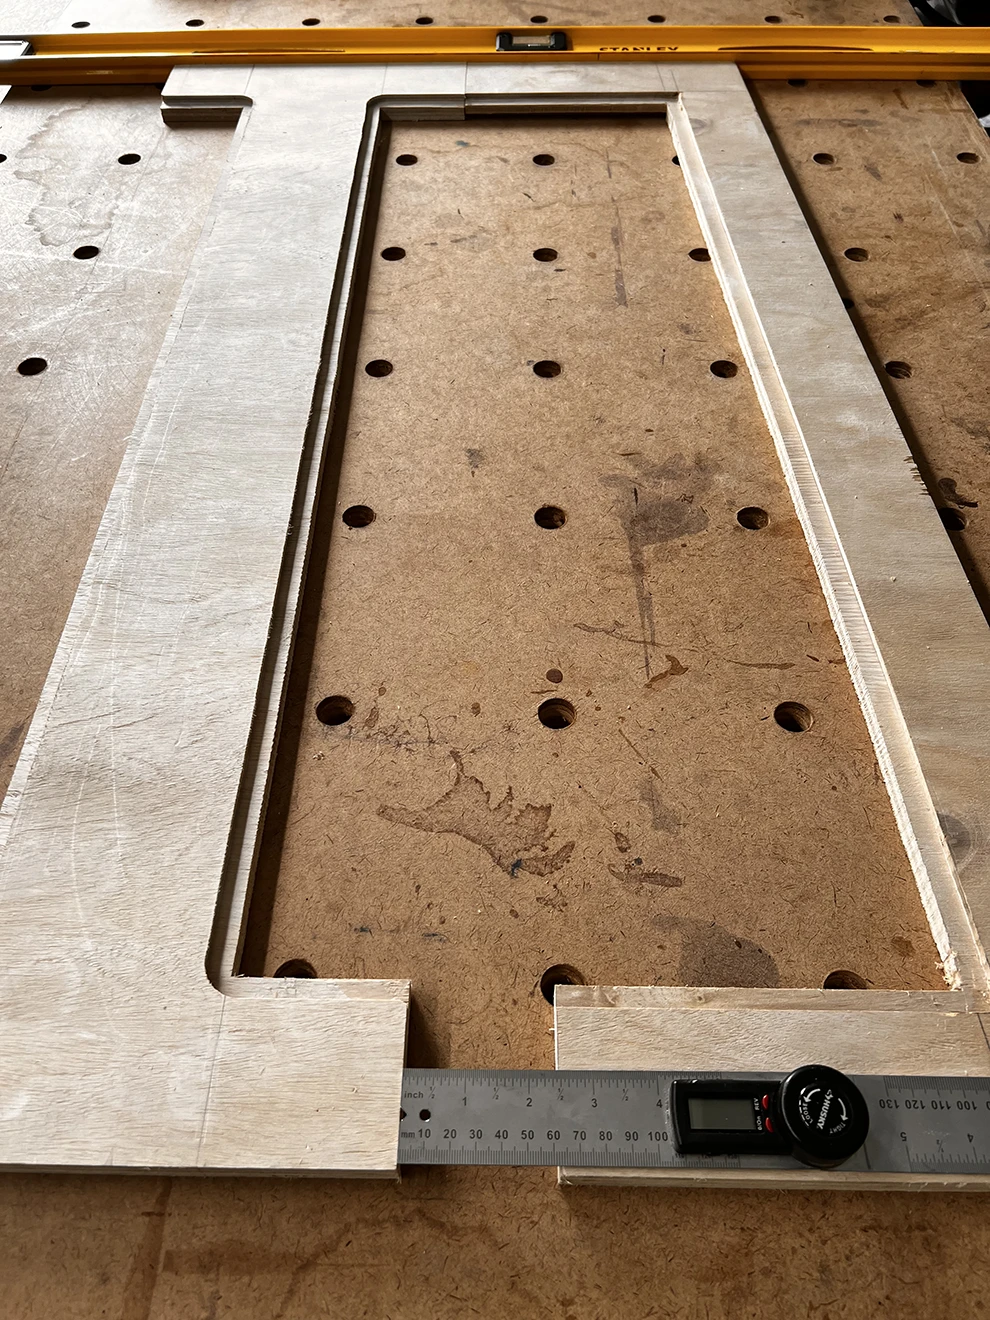
- Take the router equipped with the Freud 32-504 bit
- Cut a rabbet across the inner side of each board.
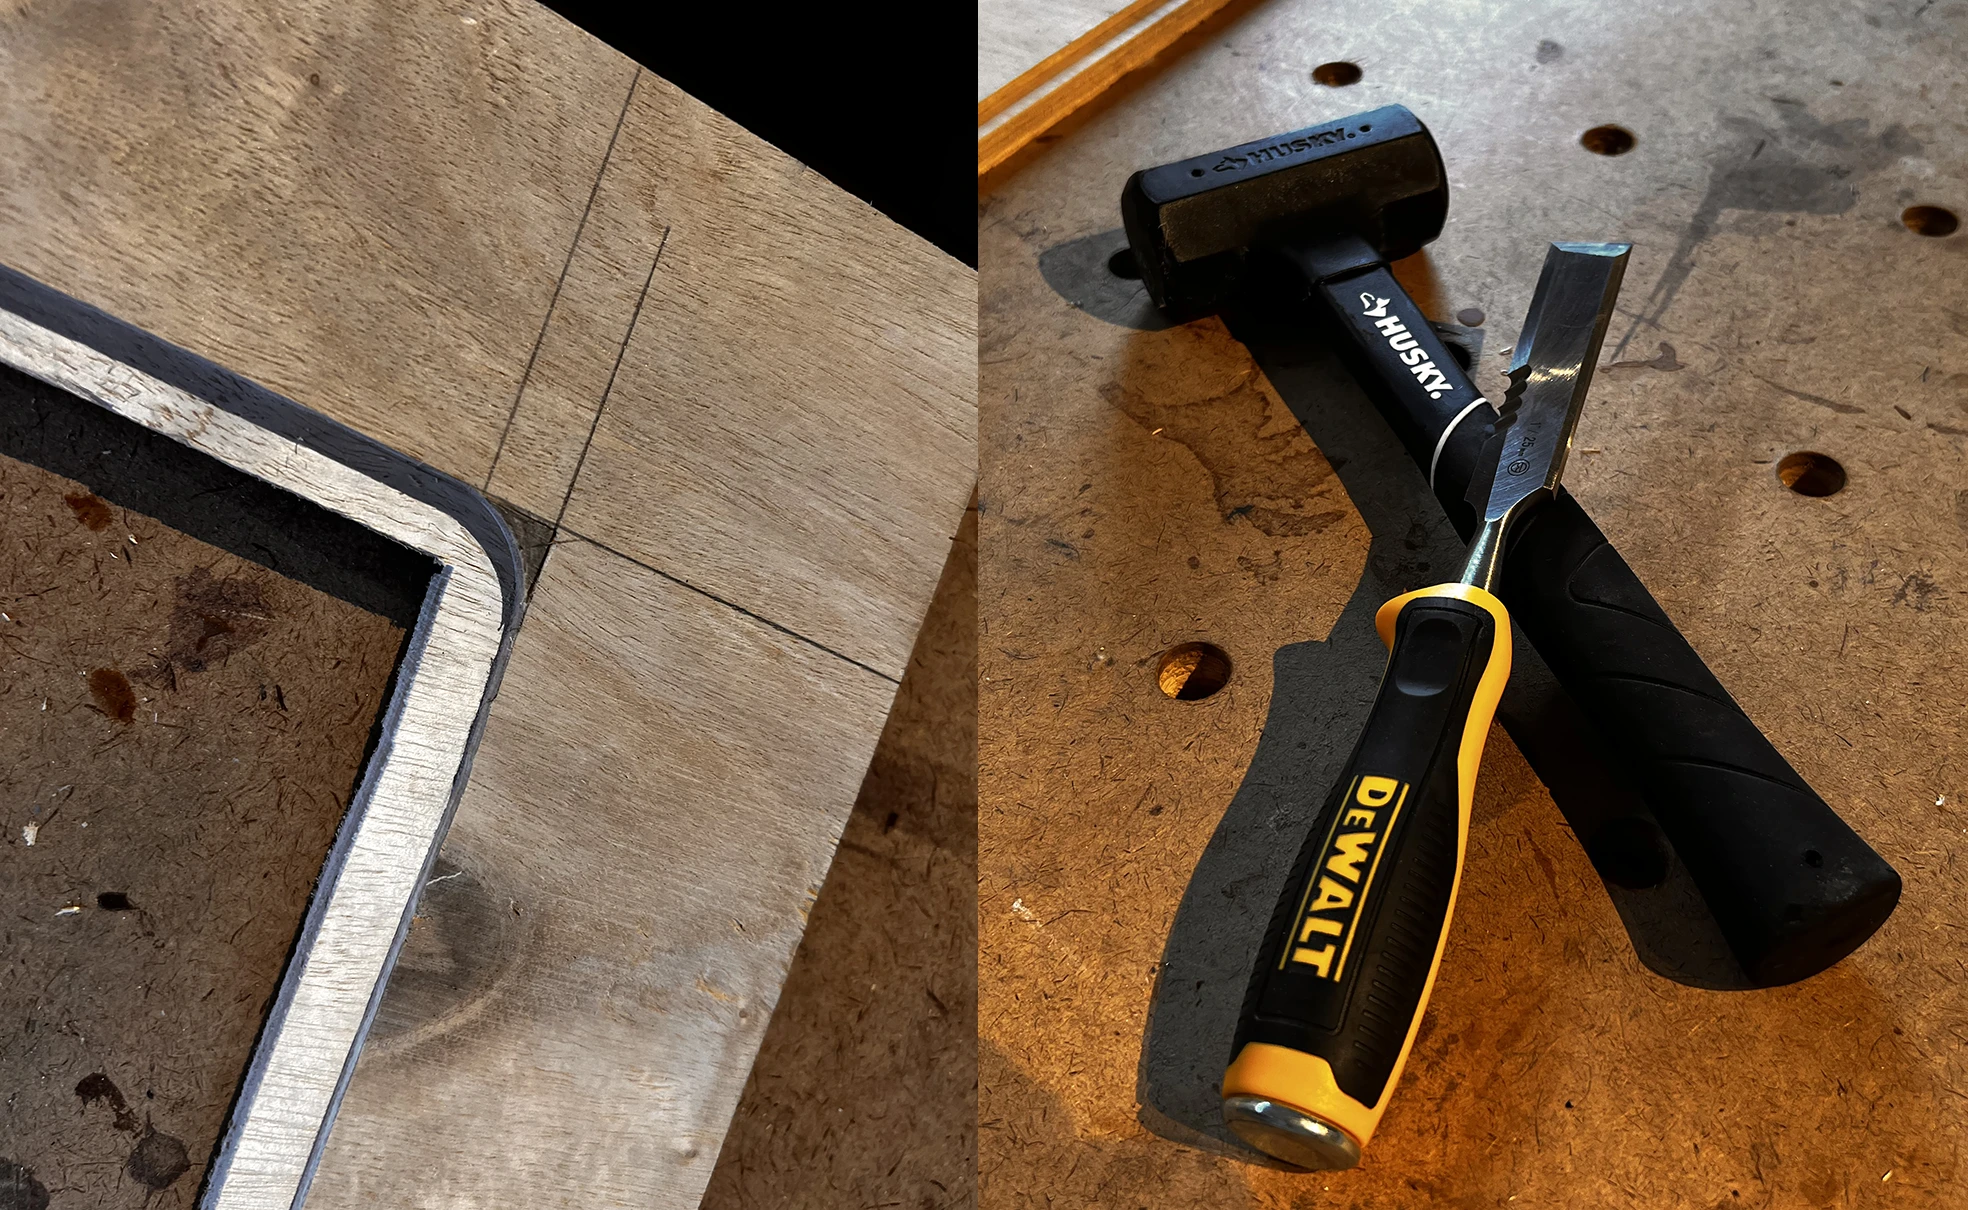
- Square out the rounded edges of your rabbet cut for each board: Draw out the angles first; mark the cuts with the chisel and hammer first; and use the chisel.
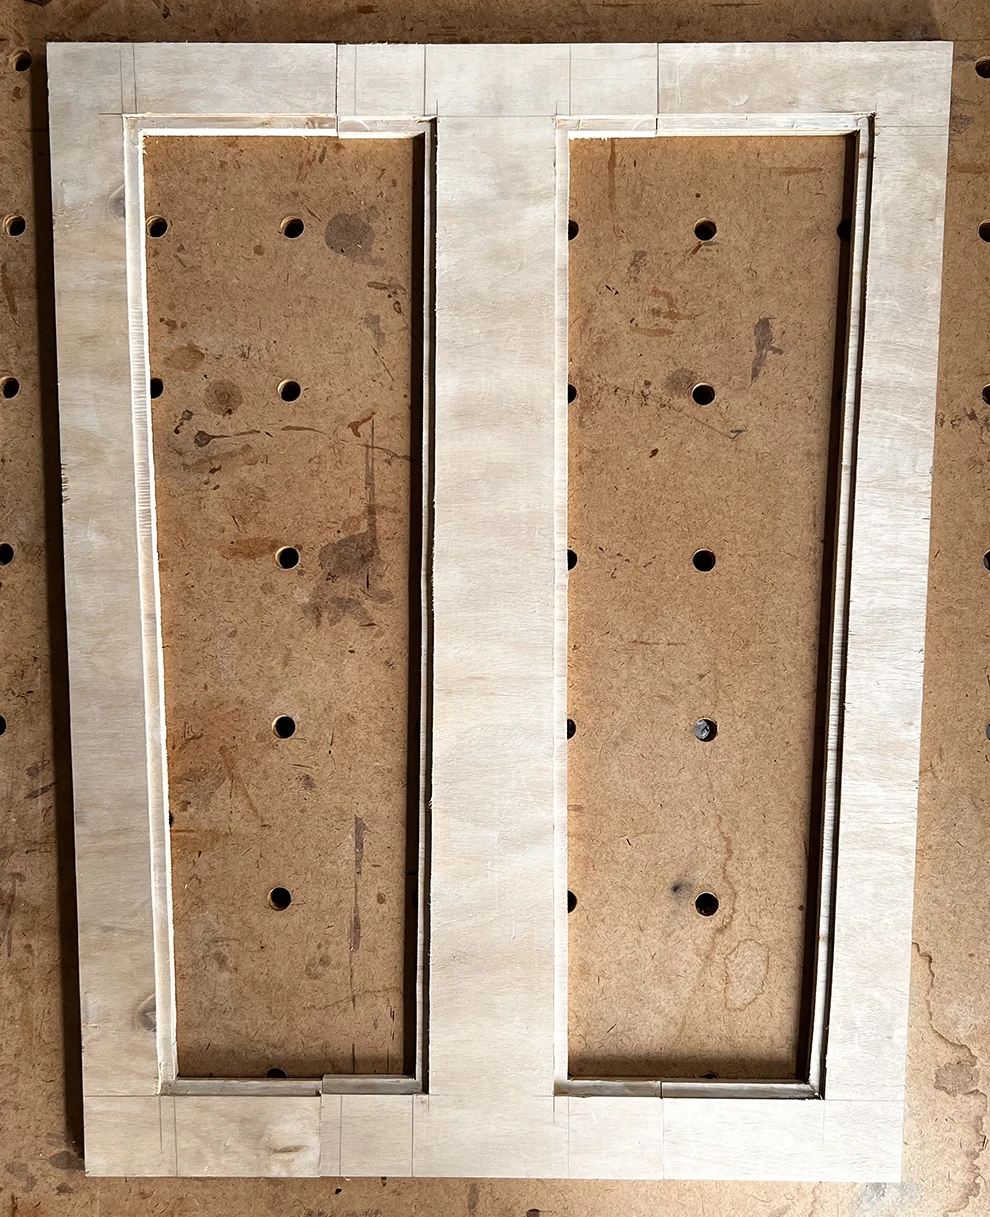
- Miter saw the two ends of each of the first two side board, down from 11" to 10", so that they are perpendicular to the width.
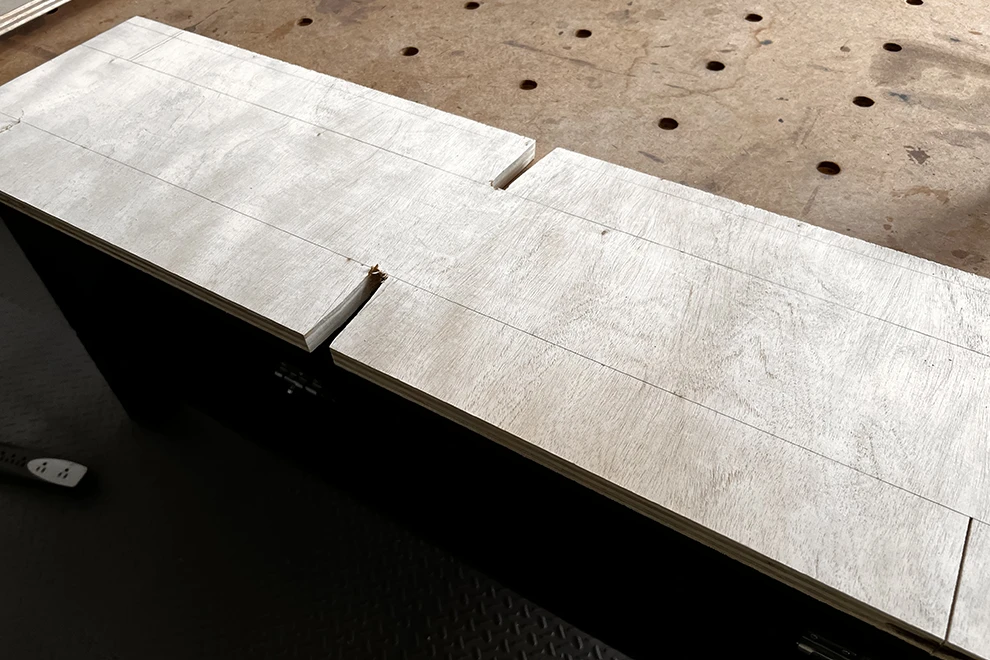
- Mitersaw the lower end of each of the first two planks. Find out how much wood to take out by substracting the space separating the middle board and the side boards.
- This is what your boards should look like at this stage.
Disclaimer
This guide is in progress. Use at your own risk! These resources are for personal references first, and I claim no expertise, know-how, accuracy, intelligence, or anything else of the kind.