Creating parts for your woodworking project is a three-step process. First, the wood must be squared and sized for thickness. Second, the stock needs to be marked with layout and cutting lines. Finally, the boards must be cut and shaped into parts with a variety of woodworking tools.
This guide is in progress. Use at your own risk! These resources are for personal references first, and I claim no expertise, know-how, accuracy, intelligence, or anything else of the kind.
1. Prepare
- Understand the 3-step process: Square, mark, and cut: Creating parts for your woodworking project is a three-step process. First, the wood must be squared and sized for thickness. Second, the stock needs to be marked with layout and cutting lines. Finally, the boards must be cut and shaped into parts with a variety of woodworking tools.
- Have your measurements in hand: Before embarking on the process of creating project parts, it's important to do a little planning. If you're working from a set of published plans, read it over thoughtfully. If you're building an original design, take this time to make up your own step-by-step plans. This minimizes eleventh-hour problems and enables you to order or purchase all necessary materials and have all necessary tools on hand.
- Have a cutting list to minimize waste: Working from a cutting list is essential; if you don't have one, write one up. It organizes all parts with their correct dimensions and keeps minor parts from slipping through the cracks. Make a dimensioned drawing to work from, and make a simple sketch. Calculate how you can most efficiently get your parts out of the rough materials with minimal waste. If any of the parts are angled, curved, or tapered, come up with a layout plan so they nest into each other and consume less of the board length than if they were laid out end-to-end. Plywood parts can be cut from full or half sheets in numerous ways. Draw plywood cutting diagrams (scale rectangles of 4 x 8 sheets) and map out the parts, remembering to slightly oversize them to allow for the saw blade kerf and any cutting errors.
- Consider the grain direction: Grain direction is a factor to contend with when planning and laying out parts. The fibrous structure of wood makes it stronger in one direction than the other. Parts should be laid out long grain; that is, with the wood fibers running along the length of the part whenever possible. If a narrow part were laid out and cut with the grain pattern running across the part's width-called short grain it would be weak and break easily along the grain. Curved parts should be oriented to minimize short grain. This is why the sharply curved legs on traditional tripod pedestal tables often break, and why a Windsor chair back wouldn't last 10 minutes if it were bandsawn out of a wide board instead of being steam bent or laminated out of thin strips.
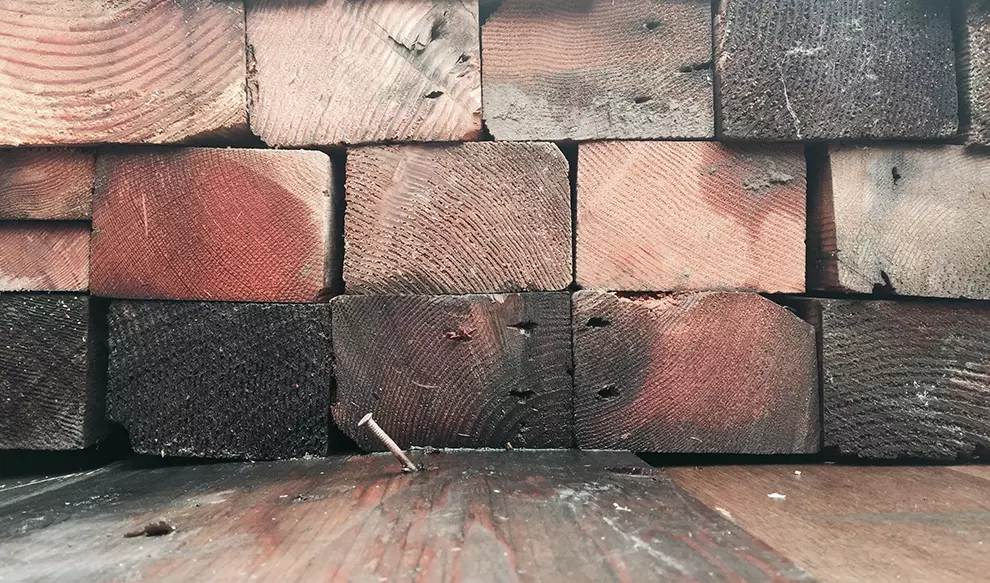
2. Square your stock
The 4-step process that will turn the rough wood bought at my local Woodcraft to slightly oversized boards.
Four Steps to square stock
- Rough cut the board to approximate size.
- Flatten one face.
- Straighten one edge square to the flat face.
- Plane the board to desired thicknet.
Tools
- Power jointer
- Thickness planer
- Table saw
In Detail
Setting the thickness, width and length: Squaring up, or milling your wood four-square, is the important initial step in turning a piece of solid wood lumber into a part for a woodworking project. It involves taking a board to the proper thickness, width, and length; and making it flat, straight, and squareedged in the process.
Rough or planed, the boards must be trued flat and square or you can have all sorts of headaches and visual problems.
Squaring and sizing lumber is essentially a six-step procedure.
- Rough-cutting: No matter what milling methods you use, start by cutting your boards close to final dimension - but always leave them slightly oversized. Generally, allow about ¼ to ½ in. extra in width and at least 1 in. extra in length whenever possible. This provides enough material for fixing mistakes or jointing crooked edges, as well as removing accidental chipout and corners or edges damaged or rounded in the milling process. If you have a planer that snipes, you may need to leave as much as be an extra 2 in. on each end so the snipe marks can rough cut off afterward. when jointing and planing lumber you'll usually lose between ⅛ and ¼ in. in thickness, so ¼ lumber generally gets reduced into ¾ in.-thick boards. Long or severely warped boards may require more material to true them up. Carefully examine the ends of your boards for any hidden checking and make your cuts well back from the apparent ends of the splits. You may have to sacrifice the first few inches of a board that has been stored for some time.
- Flattening:
Guide to be continued... Last updated on 7.9.2022.
Source
The Complete Book of Woodworking: Step-by-Step Guide to Essential Woodworking Skills, Techniques, Tools and Tips (Landauer) Over 40 Easy-to-Follow Projects and Plans, 200+ Photos, and Carpentry Basics Paperback – Illustrated, October 1, 2001 By Tom Carpenter. Find it on the inevitable but certainly overbearing Amazon.
Note: This book was my introduction to woodworking. I highly recommend it. It's a smart approach to what is otherwise a daunting learning curve.0